Send Transactions On Axon Via MetaMask
To proceed with this guide, you must have MetaMask installed. Visit Metamask and you will be automatically guided to the relevant store to download the extension or app based on the device and browser you’re using.
This guide provides instructions for sending transactions on Axon via MetaMask after setting up the Axon local node.
1 Set Up an Axon Node
1.1 Local Setup
Download Axon, find Install in README, and run the following commands to start the node:
cargo run --release -- -c devtools/chain/config.toml -g devtools/chain/genesis_single_node.json
Once the node has been successfully set up, you will notice that the block height is increasing, for instance: > Overlord: state go to new height 2171.
1.2 Add Axon to MetaMask's Local Network
Open Setting
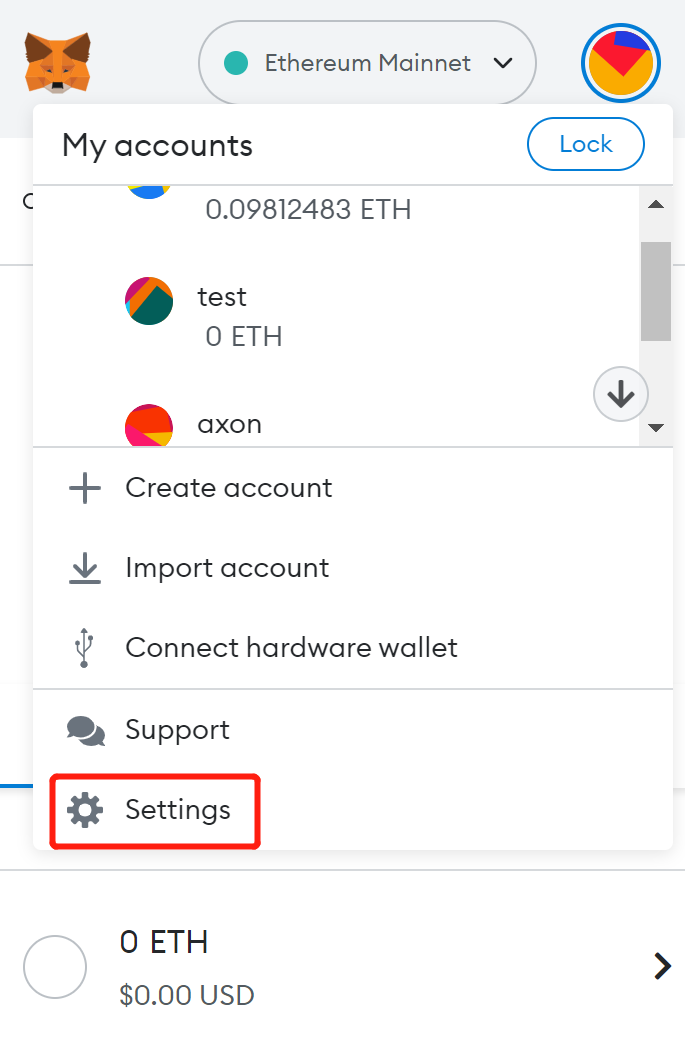
Choose Networks
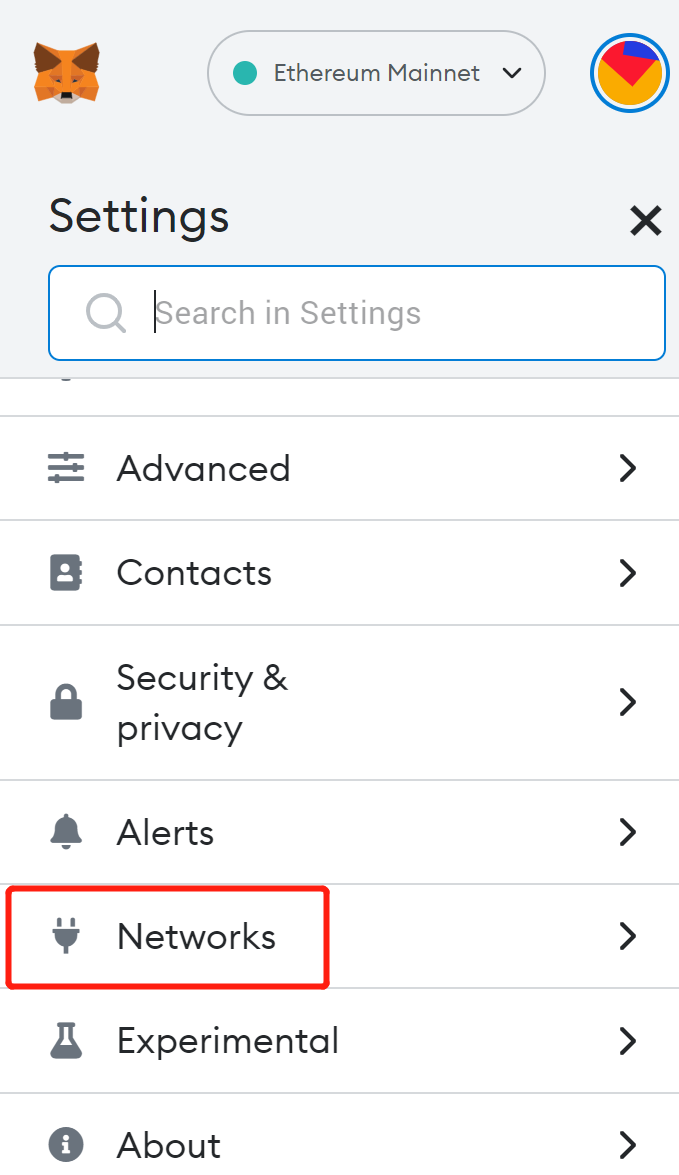
Add Network
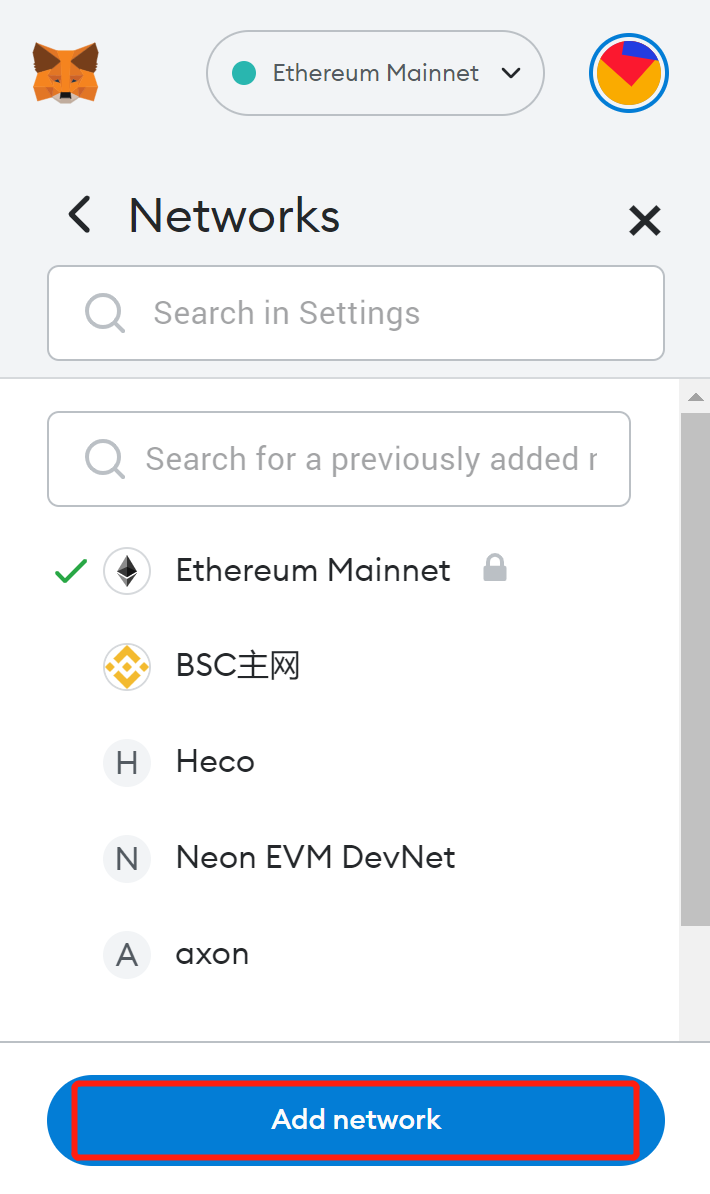
Config Axon Network Manually
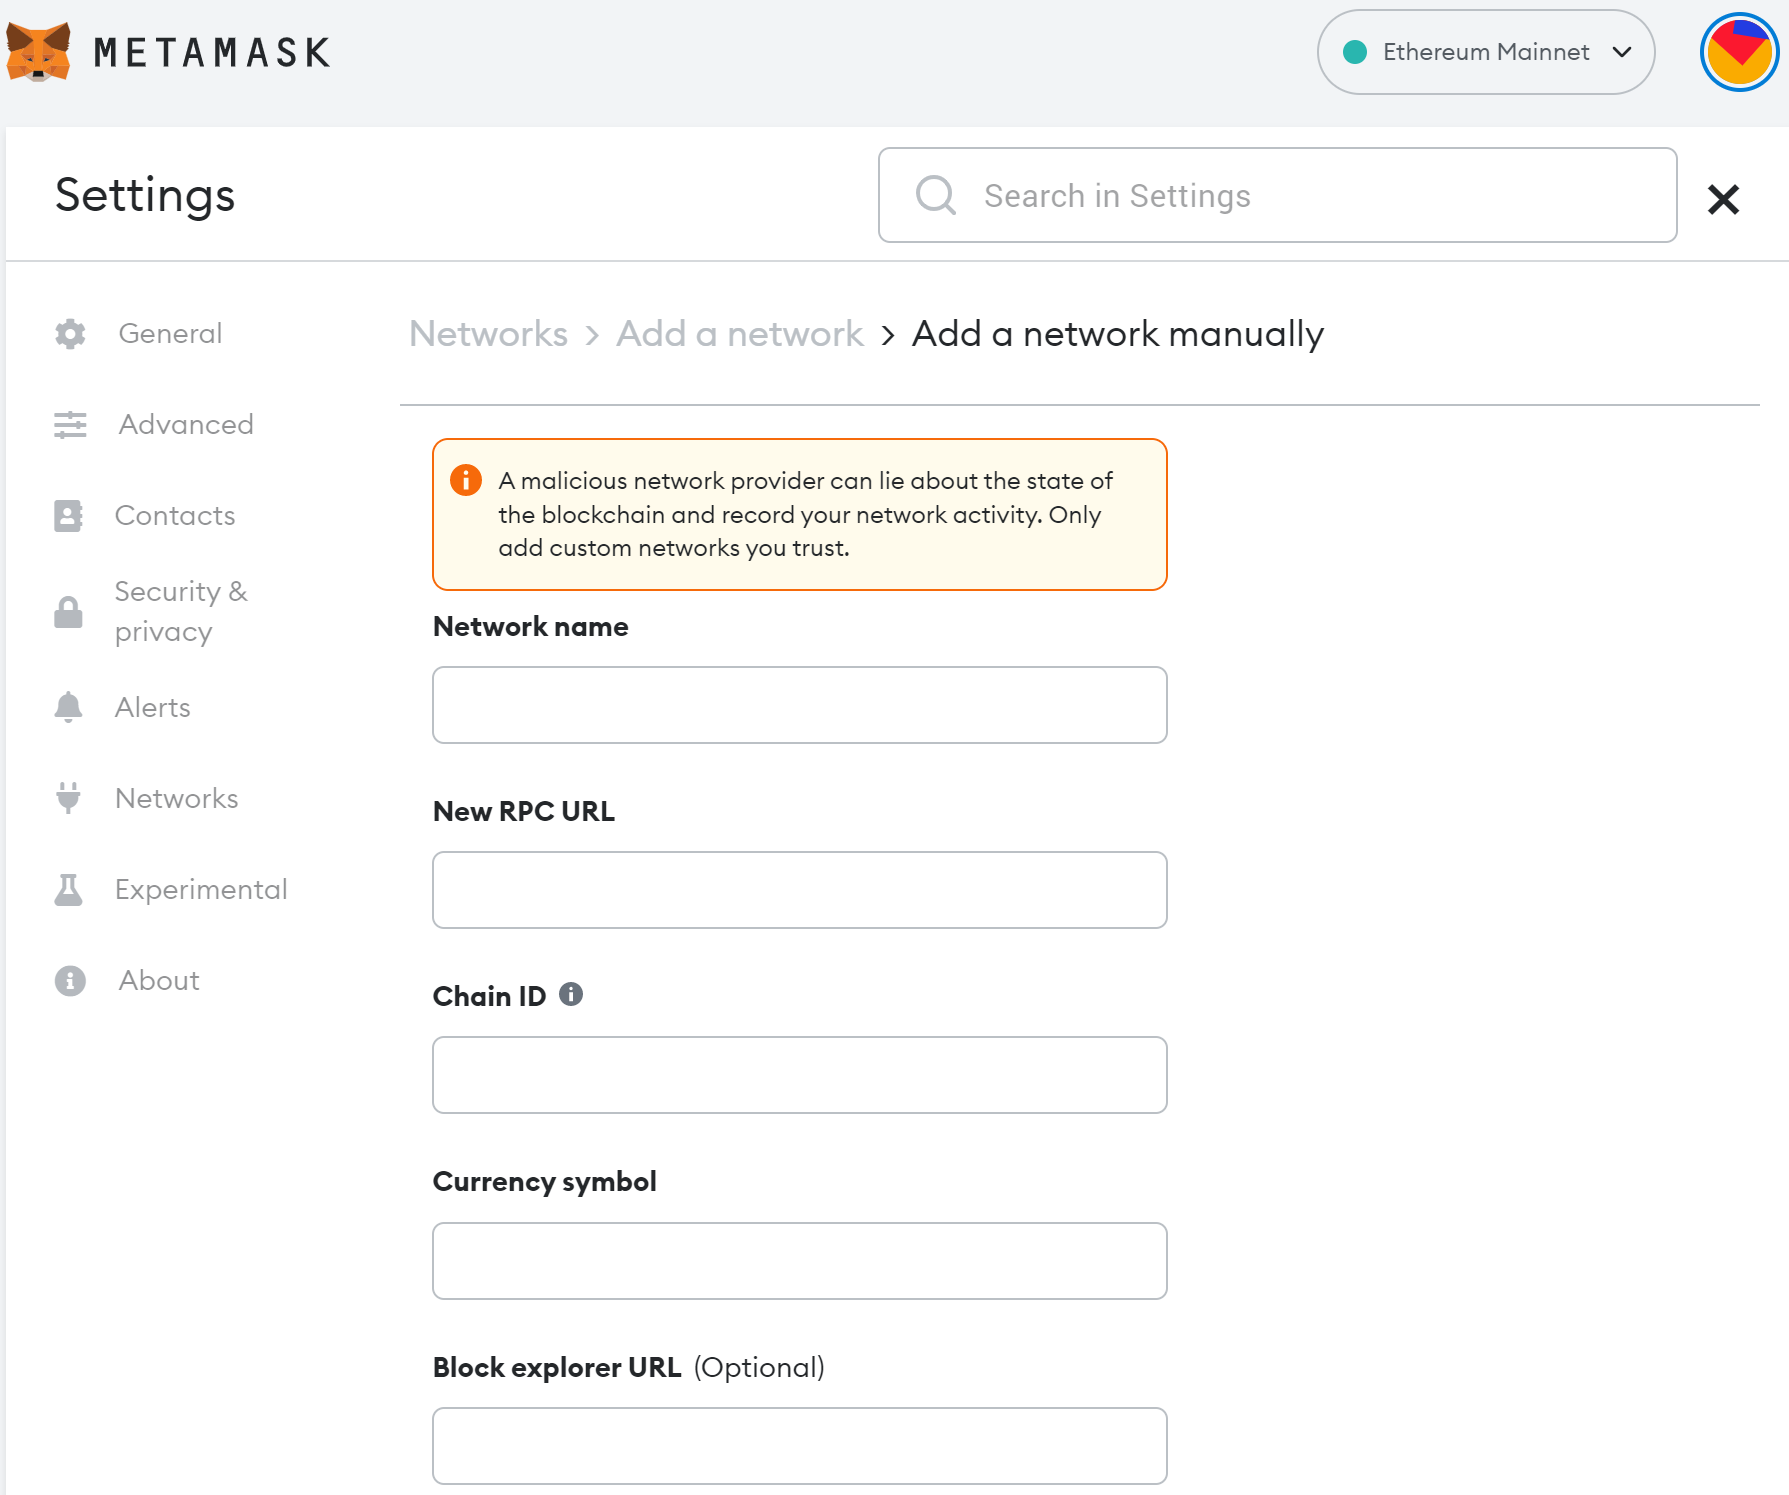
On the Networks page, make sure that the New RPC URL and Chain ID are configured according to the following information. Copy and paste the text from the boxes below:
New RPC URL
http://localhost:8000
Chain ID
2022
If you know Axon well enough, you can modify the RPC URL and Chain ID. They are in devtools/chain/config.toml and devtools/chain/genesis_single_node.json.
Save Axon Network
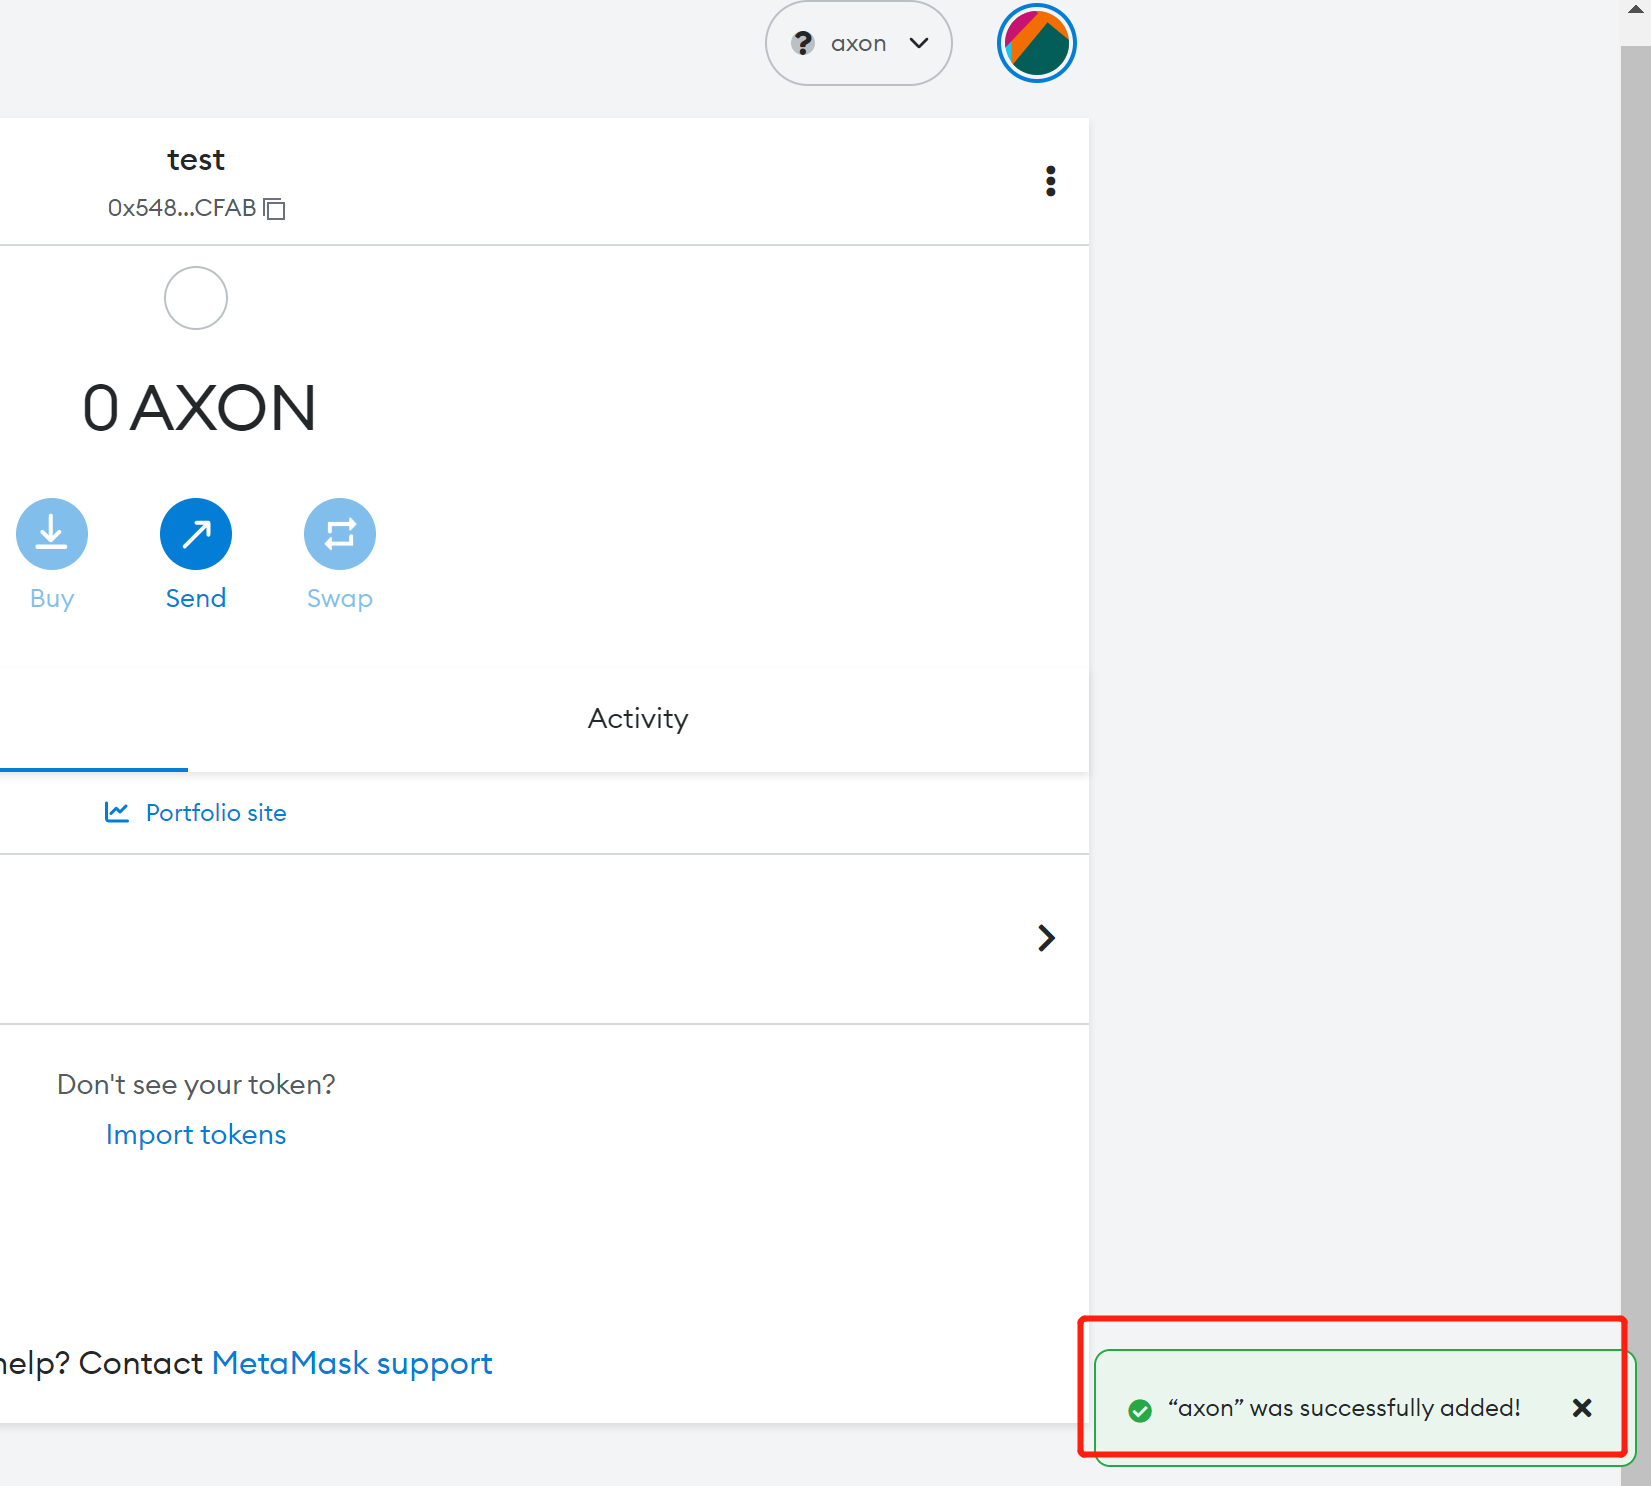
Once you have filled out all the items above, click Save and you will be notified that the Axon network has been added.
2 Send a Transaction
2.1 Add an Account
Add your Axon Genesis account to the local network. MetaMask supports importing accounts via both private keys and keystore files.
Here we use the private key. In Axon’s repository, find devtools/chain/config.toml and copy the corresponding content of the privKey.
For now, it is 0x37aa0f893d05914a4def0460c0a984d3611546cfb26924d7a7ca6e0db9950a2d.
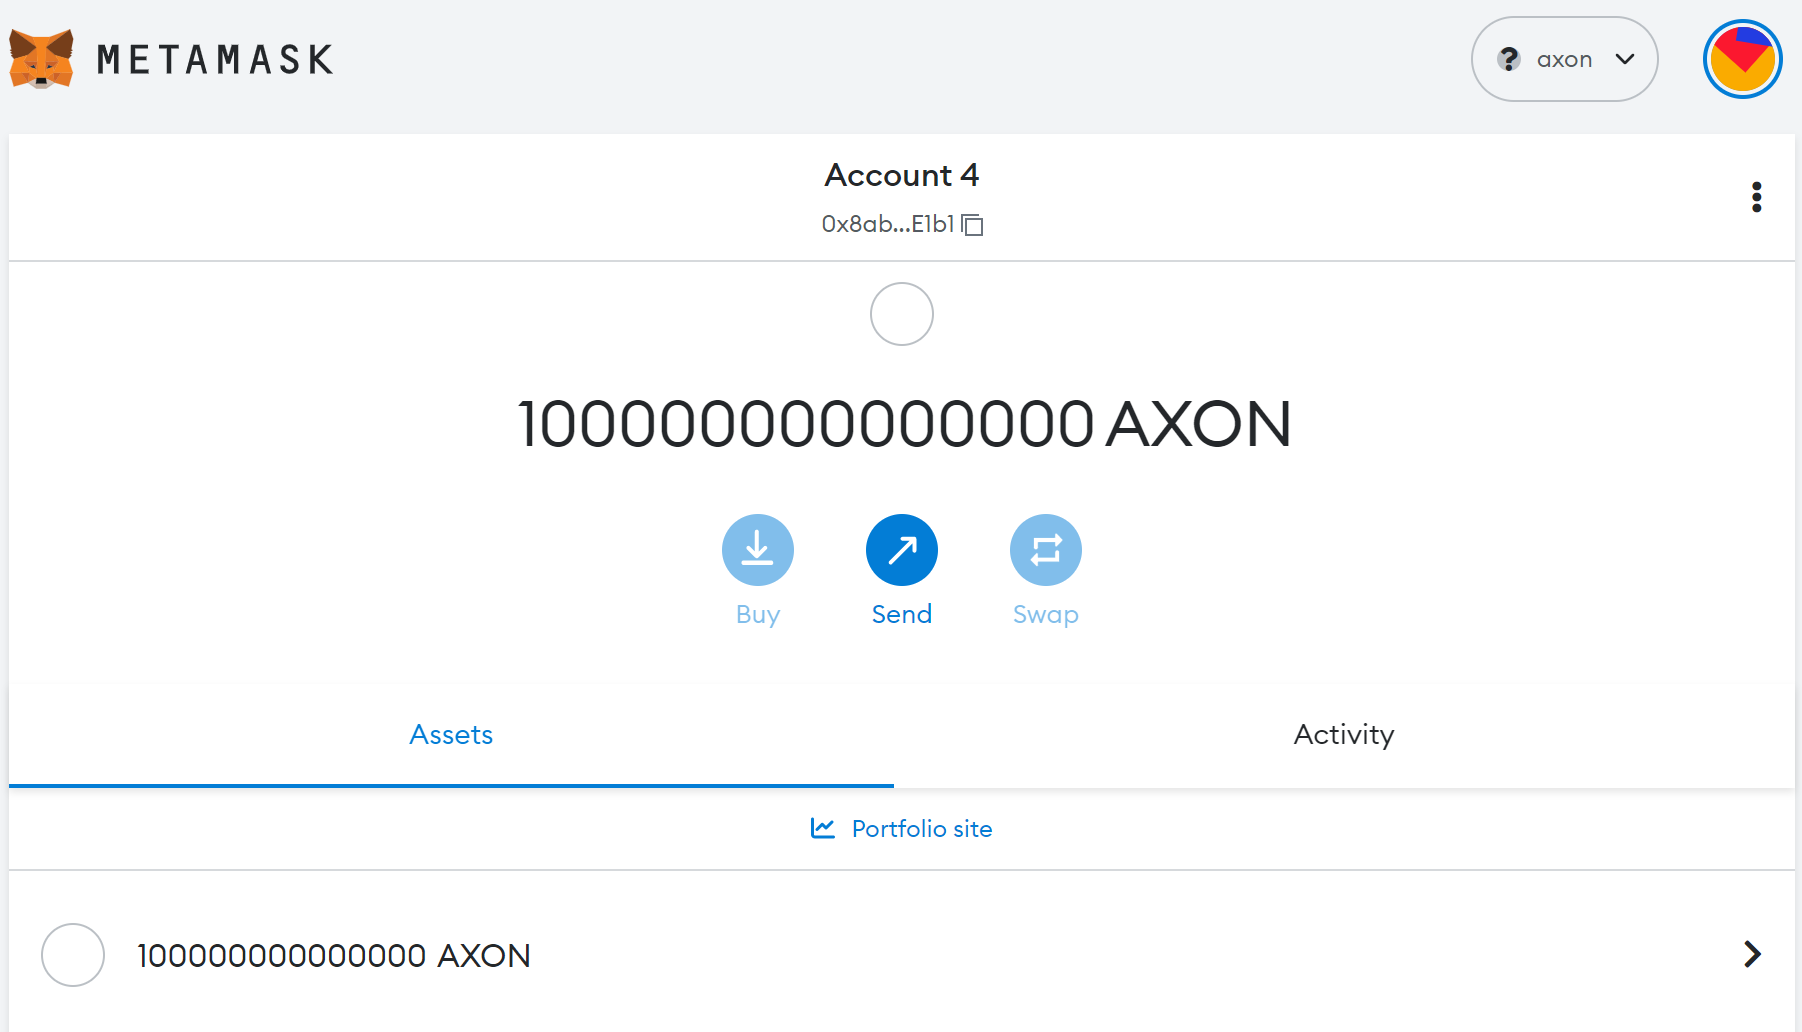
The account and the balance will be displayed once the account is added. The Genesis account holds 1000,000,000,000,00 AXON configured in devtools/chain/config.toml.
2.2 Send a Transaction
Click Send on the balance page and let’s transfer some tokens to another account. Here we are about to transfer 100 AXON to 0xdc796dfc1bb45f21d17be267877c3388d766937b.
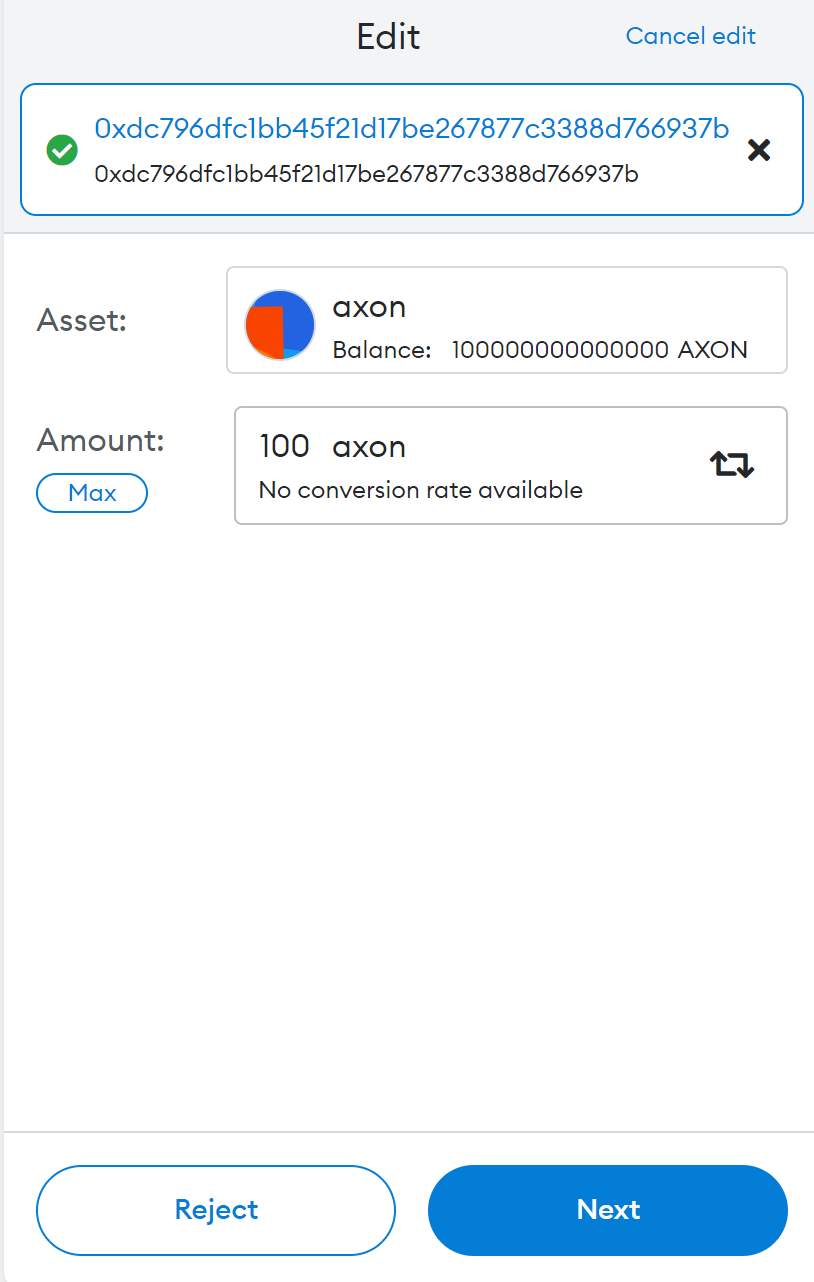
Click Next.
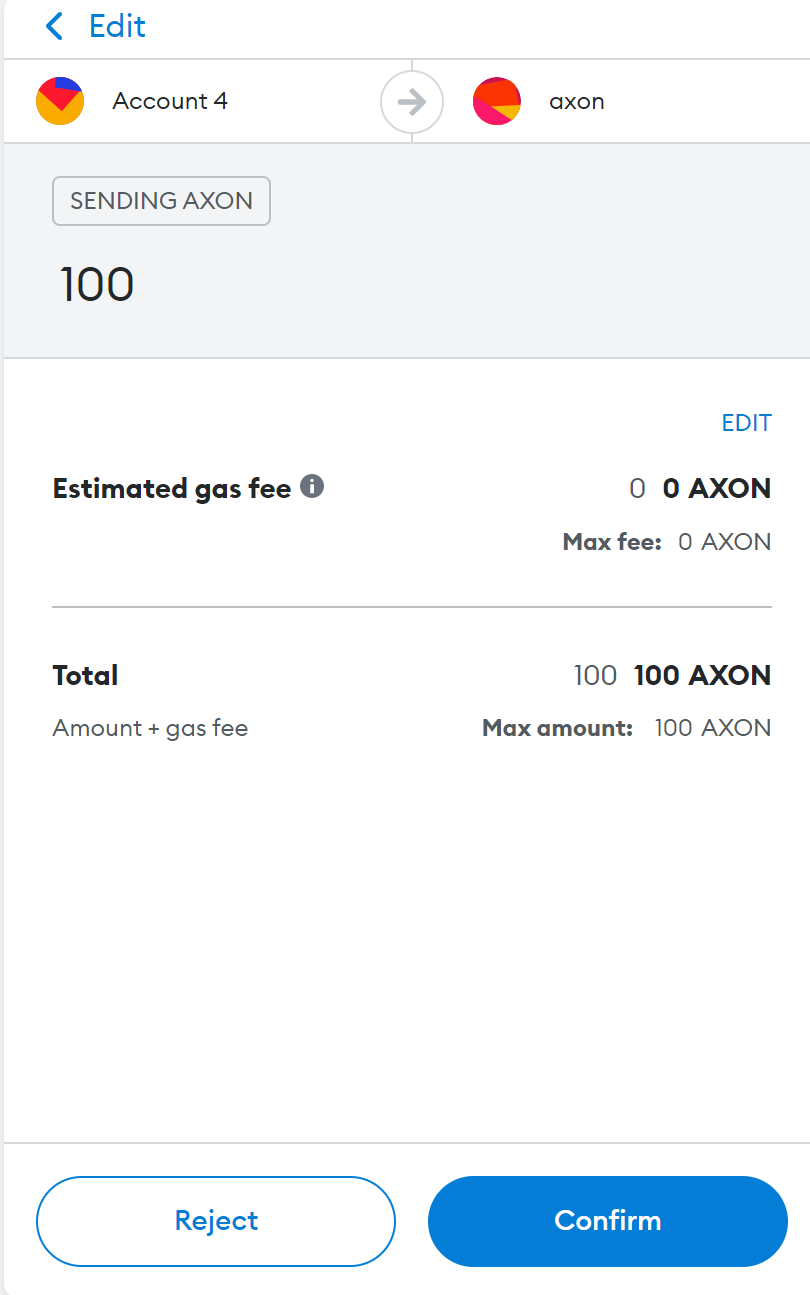
Click Confirm.
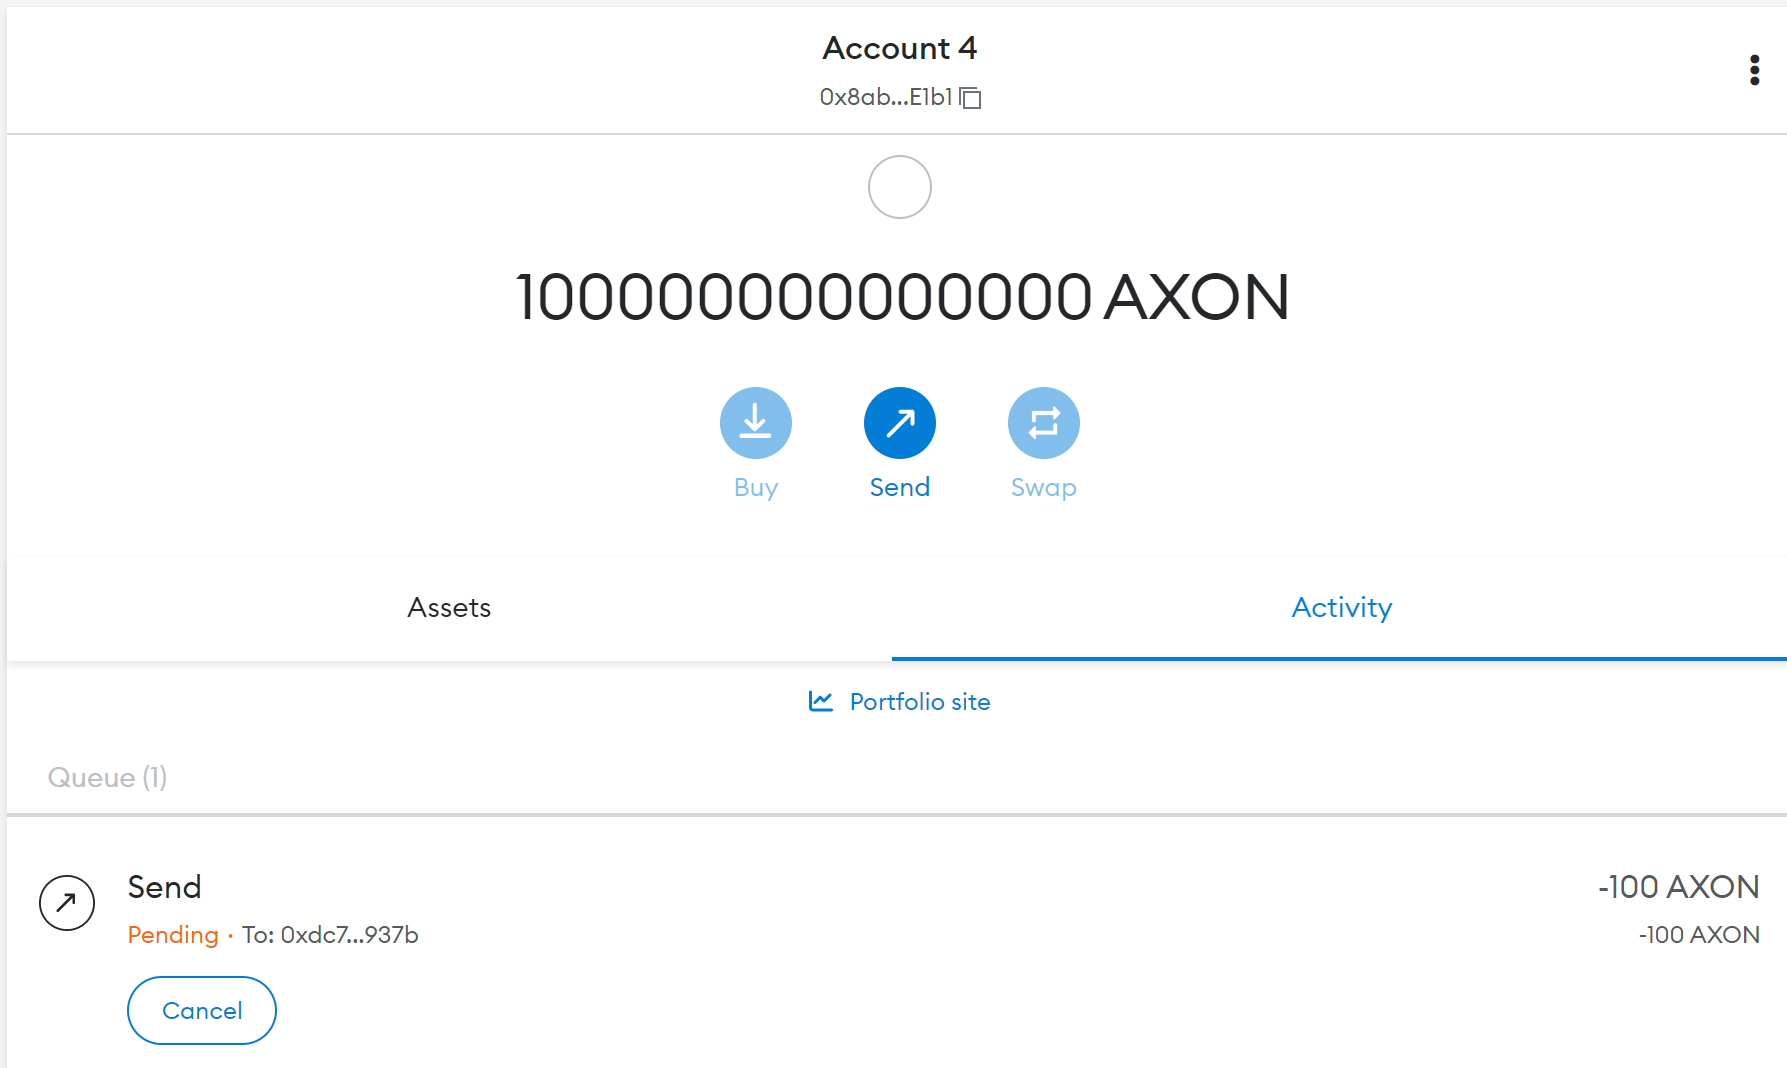
You'll see that the transaction is in Pending. It takes a few seconds for the status to change, then you'll know that the transaction has been successful and the balance is 100 AXON less.
